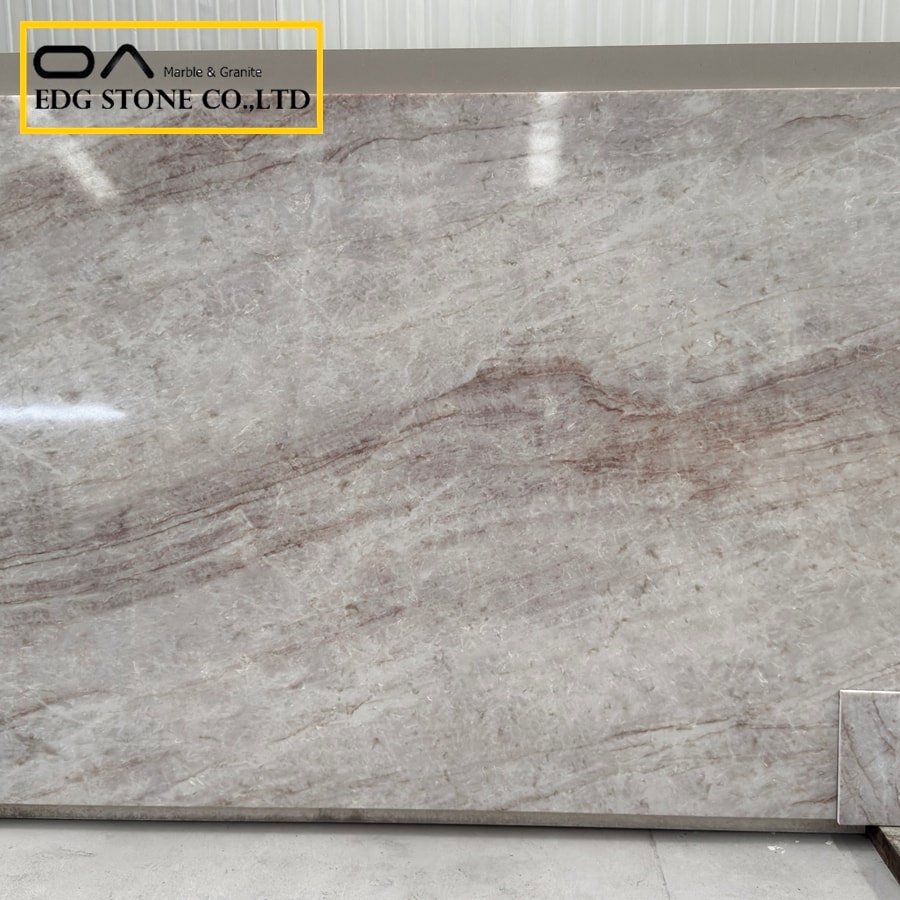
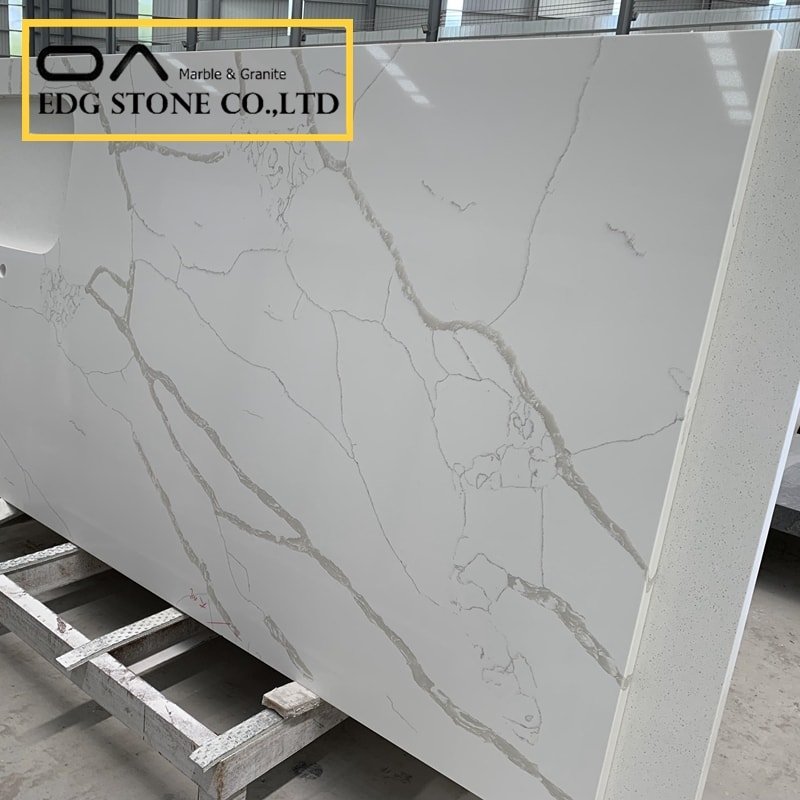
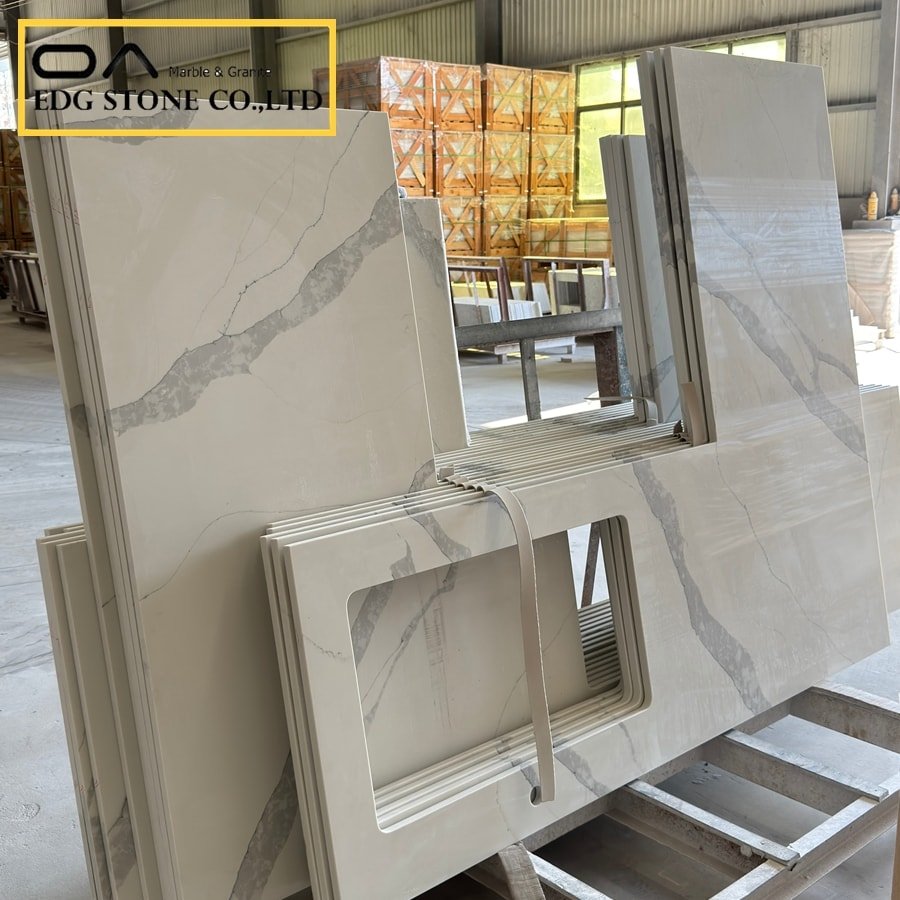
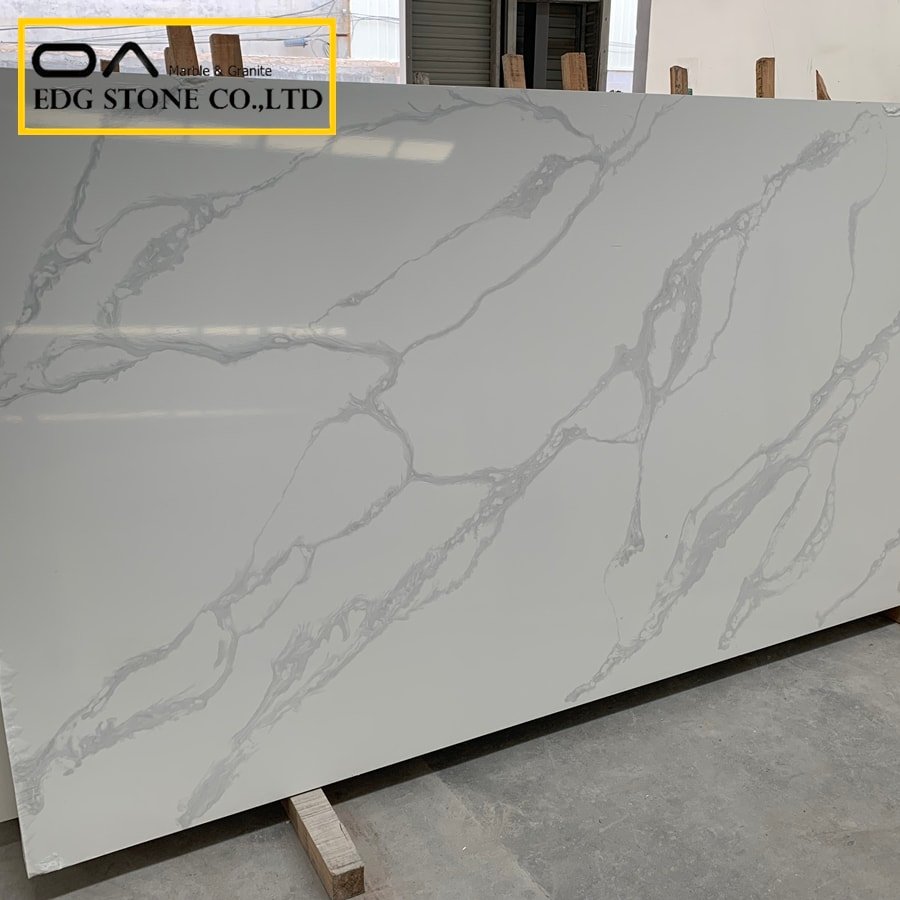
From the initial bonding gap of 1mm to 0.5mm, people have higher and higher requirements for the processing technology of the countertop. With the advancement of stone technology, the countertops have even reached the level of seamless splicing.
The basic process flow of seamless countertop processing:
1. The production of the craft sheet
2. Material selection
3. Cutting board
4. Thickness
5. Bonding
6. Basin hole and water pipe hole processing
7. Edge grinding
8. Grinding and polishing
9. Layout processing
10. Inspection
11. Packaging and storage
1. The production of the craft sheet
Although the stone processing technology of countertops is relatively simple, it is difficult to ensure that the processed countertops meet the requirements of seamlessness if there is no special processing technology for guidance.
1.1 Material quality requirements The stone surface of the countertop is absolutely not allowed to have any stone defects.
1.2 Cutting board size and finished product size requirements
1) The countertop is installed at both ends of the wall: in this case, the length of the wall can not belong, but only 1-2mm smaller; the size of the direction not against the wall or one side against the wall depends on the material, processing technology, and edge grinding. determined by the situation. If edging on both sides along the length direction, the width direction dimension must be added with a grinding and polishing allowance of 2mm, at least not less than 1mm; the allowance for unilateral edging should not be less than 1mm. If the bottom edge of the material is seriously chipped, it is necessary to add a margin not less than the length or width of the chipped edge in the width direction and remove the margin during grinding and polishing.
2) One end or both ends of the countertop should not be stuck on both ends of the wall: the length and width can be appropriately larger, limited to less than 5mm; the allowance can be eliminated or not eliminated during grinding and polishing.
3) Special-shaped countertops: Special-shaped countertops are a special member of countertop products, and their size requirements are not so strict. However, if the countertop has installation size requirements, the order maker must understand the clear tolerance requirements of the process sheet, and add a machining allowance to the upper right end of the standard size when placing an order. For example, 1200+10 means adding 10mm to the size of 1200, that is, 1210mm.
4) Processing technology requirements: In order to make the processed countertops truly meet the requirements of seamless countertops, many stone manufacturers will increase the size of the countertops, and then use edge grinding machines or diamond flat milling for secondary processing. The wheel will grind off the chipped edge. If the size is not increased, the edge chipping can also be eliminated by milling the chipped edge by fixing the thickness.
1.3 Process requirements
The countertop processing technology is the core content in the countertop craft list, which determines the quality of the countertop products.
1) Cutting board requirements: In the process sheet, it is necessary to specify what equipment to use to cut the board, the precision requirements of the equipment, the requirements of the saw blade, the size standard, and the quality requirements of the surface chipping and chipping angle after cutting the board.
2) Bonding requirements: Bonding is the most critical process in the processing of seamless countertops. If the quality of the countertop bonding is poor and the color of the glue is not well adjusted, it will greatly affect the quality of the seam of the seamless countertop.
3) Requirements for forming and edging: When the tabletop is formed, a grinding and polishing allowance of 1mm should be reserved. When grinding and polishing, the allowance should be eliminated.
4) Basin hole processing requirements: give the shape, size, edge grinding, and size deviation requirements of the basin hole.
5) Quality inspection requirements for countertops: material requirements, size standards, basin hole, and water roar hole requirements.
6) Packaging requirements specify the packaging material; specify the packaging method; specify the reinforcement method of the packaging box.
1.4 Processing quality requirements
The quality requirements, size requirements, edge shape quality requirements, basin hole quality requirements, water roar hole quality requirements, and the size requirements of the bottom cavity of the countertop panel, whether it matches the size of the furniture.
2. Material selection requirements
The material quality of the panels is very demanding. Quartz stone must never be broken, and the surface of artificial stone countertops is not allowed to have pits, holes, and blisters, otherwise, it is easy to hide dirt and absorb water, which will affect the quality of the countertops.
3. Cutting board requirements
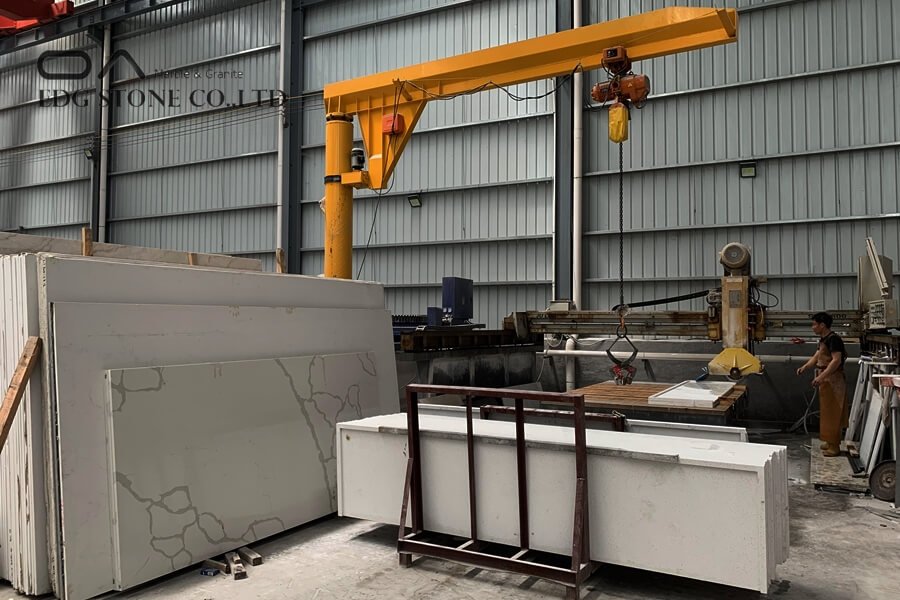
3.1 Requirements for equipment
1) The precision of the cutting equipment can be controlled within ±0.5mm; the precision of the diagonal line can be controlled within ±0.5mm.
2) The working surface of the equipment is flat, the pads on the table are basically intact, and there are few sawing gaps;
3) The size of the chipping edge does not exceed 1mm (depth) * 2mm (width); the requirement on the opposite side of the cut board is that there is no chipping or jagged edge phenomenon.
4) The main shaft of the equipment runs normally, and there is no jumping phenomenon.
5) There is no oil leakage in the equipment because the oil leakage of the equipment will contaminate the tabletop.
6) The water quality requirement is that it will not pollute the board surface and corrode the board surface. It is best to use a clean water cutting board for white, jade, and rust-prone stones.
3.2 Saw blade requirements
Choose a saw blade that matches the variety and hardness of the stone. Select a saw blade with a diameter that matches the depth of the sawing board. New saw blades should be sharpened before use. When installing the saw blade, install it in the direction of the arrow.
3.3 Cutting board parameter requirements
During the cutting process, control the running speed of the saw blade, first cut the board at a lower speed, and then gradually increase the running speed of the saw blade. Do not increase the cutting speed; for materials that are not prone to chipping, judge whether the cutting speed is appropriate by the sound of cutting. During the cutting process, the amount of water should be increased to ensure that the amount of water on the saw blade is sufficient and fully lubricated. If there are cutting board parameters, you can refer to the cutting board parameters for the sawing table panel.
3.4 Quality requirements for cutting boards
When cutting boards, pay attention to avoid various defects of the stone, avoid cracks, black spots, color lines, color spots, sweeping flowers, powder lines, bee clusters, serious yin, and yang colors, etc. When cutting the board, control the geometric size, angle size, and diagonal size of the cutting to be accurate.
Control the quality of the board surface during cutting, and do not allow edge chipping and corner drop. If the back of the countertop needs to be bonded, it is also necessary to ensure that the edges, edges, and corners of the back are intact and the processing quality after bonding, grinding, and polishing.
When cutting boards, pay attention to the difference in color and texture between the previously cut material and the material cut now, especially the difference between the same set of countertops.
In order to ensure the seamless quality requirements of the seam between the adhesive strip and the tabletop, for some materials with unavoidable edge chipping and chipping angle, a machining allowance of 3-5mm can be added to the edge of the glued part of the thickness can be fixed. 2mm method to eliminate the phenomenon of chipping and chipping. For bonding in the length direction, add 3 to 5 mm in the width direction; for bonding edges in the width direction, you can add a margin of 3 to 5 mm in the length direction. After bonding the edges, remove the bonding excess by grinding or trimming.
Table board size standard: length (0, -1); width (-3, 3); thickness (-1, 1). For some countertops matched with furniture, special attention should be paid to the control of the dimensional accuracy of the cutting board.
3.5 Placement Requirements
The countertop must be placed with the glossy side facing forward, separated by a non-fading spacer or foam between the glossy side and the back, and keep the board surface clean. The big board is in the back, and the small board is in the front; the longboard is in the back, and the shortboard is in the front. All boards are placed vertically, and it is strictly forbidden to lay them flat. Prevent the small board from being crushed by the large board, which will lead to fracture repair and affect the quality of the board surface.
3.6 Transshipment Requirements
Before the tabletop is transported, it must be checked whether it is placed in accordance with the above requirements, and it must be fastened with binding straps. Forklift transfer, or hand-pulled forklift transfer. The plate handling in the process of processing is suitable for vertical handling.
4. Special-shaped table panel processing
The processing methods of special-shaped countertops include manual cutting and mechanical cutting. A water jet machine is the most commonly used equipment for processing special-shaped plates. It has high processing precision, can process arbitrary curves and has extremely high production efficiency.
Control the shape of the special-shaped plate. Generally, the deviation is controlled within 1mm, but the special-shaped plate of the water jet machine will depend on the burr of the special-shaped plate processed by the water jet machine. When the cutting board is thick or the material is very hard When the stone is used, it is necessary to further enlarge the grinding allowance and meet the processing quality requirements by grinding.
The hand-cutting tool for special-shaped countertops is a hand-cutting machine, which is cheap and flexible to use. When cutting, first draw a line with a standard template, cut the special-shaped board with a hand cutter according to the line, and then manually grind the tabletop to the standard.
5. Bonding
The bonding process is a key process in the processing of seamless countertops, which determines the size of the bonding seam, the color quality of the glue, and whether the countertops finally achieve a seamless effect.
5.1 Inspection of plate quality
The material quality inspection includes the inspection of the upper and lower water barriers and the inspection of the adhesive strip. During the inspection, the inspection shall be carried out according to the requirements of a set of countertops. After the inspection, a small label that has been inspected shall be attached, the number of the set shall be marked, the direction of splicing shall be marked, and it shall be separated from the uninspected products. The inspection items include color, texture, glue quality on the surface of the sheet, sheet thickness, luminosity, flatness, and size.
Testing method:
★The color, texture, and glue quality of the surface of the board are visually inspected at a distance of 1.0 m from the board.
★Check the thickness of the plate with a tape measure or vernier caliper; measure the length and width with a tape measure.
★The inspection of flatness shall be inspected with a flat ruler and a feeler gauge.
★The luminosity is checked with an optical photometer.
5.2 Cleaning of the surface to adhere
The cleanliness of the joints to be bonded has a great influence on the purity of the glue seam. When the seamless countertop is bonded, the bonding area must be cleaned to eliminate surface dirt, dust, moisture, oil, chemicals, and the like. If these substances are not cleaned, they may change the color of the adhesive. , so that the original seamless area appears to have a seam or a large gap.
To clean the sticky surface, you can use a clean and non-fading rag to wipe off the dust, moisture, and dirt on the surface; the dirt that cannot be wiped off can be treated with chemical cleaners and organic solvents, and the residual liquid should be removed after the treatment.
5.3 Treatment of the bonding surface
The main purpose of the bonding surface treatment is to roughen, fix the thickness, process the surface to be bonded, increase the roughness of the to-be-bonded part, and increase the adhesive force of the adhesive. For the bonding of large-area boards, it is very important to increase the roughness. If a smooth surface or a smooth surface is used for bonding, the bonding surface may be too smooth, resulting in too little force between the adherents and falling off. . The rough grinding of the bonding surface should make the surface to be bonded look obvious uneven, and you can feel the undulations when you touch it with your hand.
The surface bonding with a large area must have sufficient roughness, which must be rough ground with a 6O# diamond grinding disc, or the roughness can be obtained by pickling and sandblasting. The purpose and function of grooving on the bonding surface are to make the adhesive penetrate into the groove, increase the penetration force of the adhesive, make the adhesive and the adherend as one as possible, and strengthen the adhesive and the adhered stone. Surface cohesion, so as to achieve the purpose of enhancing adhesion. Before bonding, the water, stone powder, and other sundries in the tank must be cleaned up, and the tank should be kept dry, otherwise, it will affect the bonding force.
5.4 Adjusting glue
★ Requirements for the bonding environment: choose a dust-free, less dusty, and ventilated environment. Dust may affect the quality of the binding seam. Choosing a ventilated environment is conducive to the natural drying of the adhesive and reduces the influence of the temperature and humidity of the bonding environment on the adhesive.
★Requirements for bonding tools: choose a plastic spatula to adjust glue and scrape glue; use an “F” clip, “A” clip, and “G” clip with adjustable clamping force.
A-type clips are suitable for stone materials that are easy to break and thin in bonding thickness; F-type clips are suitable for use on tabletops with particularly thick and wide bonding thicknesses; G-type clips are suitable for tabletops with thicker bonding thickness and wider bonding widths panel use.
5.5 Bonding processing steps
(1) First check whether the material of the adhesive strip is consistent with the panel material, the color and pattern are basically the same, and whether there are stone defects that affect the quality of the countertop.
(2) Check whether the length, width, and thickness of the adhesive strip meet the standards; whether there is serious deformation.
(3) Check whether the bottom of the tabletop to be bonded is seriously chipped. If the chipped edge is serious, grind or fix the thickness of the chipped edge so that the chipped edge can be completely ground.
(4) If the bottom surface is bonded, roughen the bottom surface, and also roughen the smooth surface of the adhesive strip, so that the adhesive surface becomes a rough surface; if the side is bonded, roughen the side surface, and try to assemble the adhesive strip and the tabletop. to check the seam size of the two pieces.
(5) In strict accordance with the glue mixing requirements in 5.4, compare the color of the board surface of the countertop, and according to the principles, methods, and steps of glue mixing, adjust the glue with the same color or basically the same color as the board surface.
(6) Before bonding, the surface to be bonded should be clean, free of dust and oil, and the bonding surface should be polished or roughened to ensure good bonding force.
Attach the sticky strip to the place to be glued, and push the sticky strip back and forth to make the glue evenly on the place to be stuck. In order to firmly bond the adhesive strip to the countertop, after the adhesive strip is aligned with the countertop, use “F” clips, “G” clips, and “A” clips to clamp the adhesive strips. 350 ~ 300mm clamp one and tighten the clamping bolt.
During the clamping process, pay attention to the amount of tightening force, and do not use too much force to break the adhesive strip. The glue that overflows during the clamping process should be cleaned up with a spatula or blade when it is still wet. During the bonding process, it should be noted that the gap between the two boards on the bonding surface should be as small as possible, preferably 0.1-0.3mm. If the gap is too large, increase the tightening force of the clip. If the glue gap is still too large, remove or cut off the adhesive strip when the glue is still wet.
After the adhesive is dry, remove the clips, put away the glued countertops and let them sit for more than 1 hour before grinding and polishing. If it is to use Acme glue or epoxy resin adhesive, it is best to let it stand for 24 hours to ensure that the adhesive is completely dry.
Corner bonding method:
The countertops often have multiple sides to be bonded. At this time, there is a problem of how to deal with the bonding of adjacent sides. With good handling, the adhesive seam can achieve a seamless effect. If it is not handled well, the excessively large adhesive seam will affect the quality of the countertop. The usual treatment method for the corners of the countertops is to cut them at 45° (the angle of the joint is 90°) or stick to the bottom by skimming. As long as the cutting angle is standard, the adhesive seam can be completely seamless. If the right angle is used for direct adhesion, it is necessary to put the adhesive seam goes to the side of the countertop.
6. Grinding and forming
6.1 Forming of Sides Forming of Sides
It is to process a certain edge of the tabletop into various geometric shapes according to the requirements of the production and processing order. Common sides include big hypotenuse, big round side, French side, Begonia side, and so on.
Edge shaping is now largely mechanized, even grinding and polishing. The forming of the countertop special-shaped board can be used with an engraving machine, special-shaped tabletop forming machine, universal machining center, and portable edging machine. However, the grinding and polishing of the special-shaped tabletop can only be done by the universal machining center. Due to the high price of the equipment, the grinding and polishing of the special-shaped tabletop are mainly manual grinding and polishing.
6.2 Improvement methods for seamless countertops
It is a very scientific method to realize the seamless process of the countertop from the design of the edge. Since the quality of the seams of the seamless countertops during bonding cannot be seen until they are formed, polished and polished, this approach has great uncertainty and risk. Therefore, some stone manufacturers have achieved seamless requirements by improving the large-scale design of the countertops. The bonding diagram on the left is to hide the bonding seam through the design of the large sample.
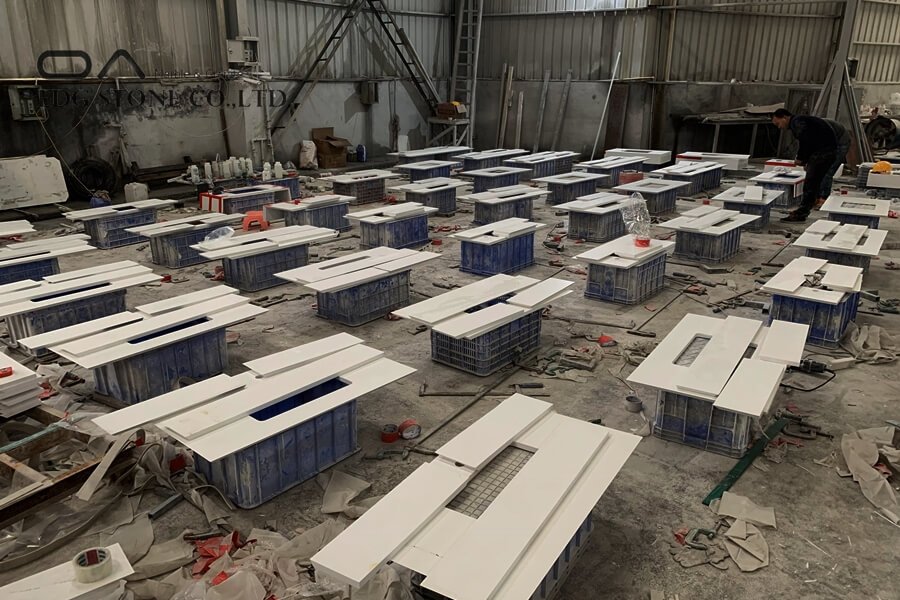
6.3 Forming of basin holes and drilling of water hose holes The forming of basin holes is more complicated than that of the sides.
The basin hole forming includes a convenient manual edging machine, universal machining center, Tenglong edging machine, hand-held grinding machine, and manual molding. The water jet machine digs the basin hole and the water pipe hole. Basin hole, water pipe hole size standard 0 ~ +1. For example, the basin hole needs to be ground and polished, and the size standard is -1 to 0 during water jet machining.
7. Grinding and polishing the edge of the countertop
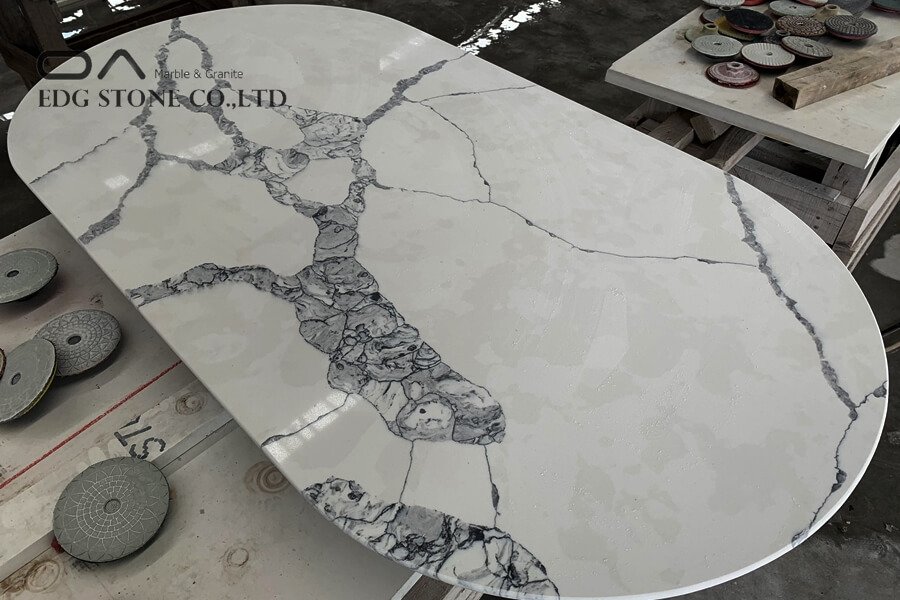
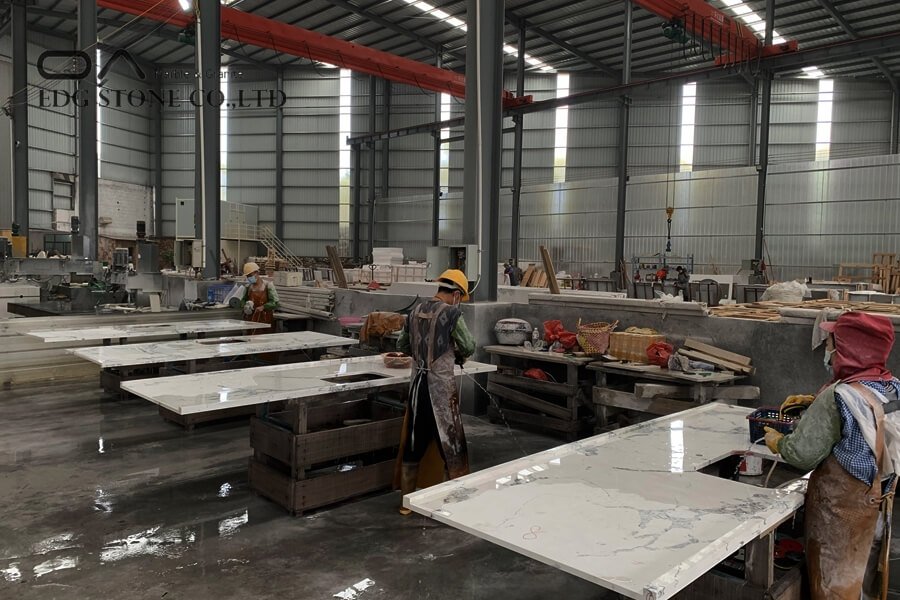
At present, the grinding and polishing of countertops are still dominated by manual grinding and polishing, especially the grinding and polishing of special-shaped countertops. When the tabletop is polished and polished, the operator checks the quality of the bonding seam while grinding.
If the glue seam is large and the color of the glue is wrong, do not continue grinding and polishing, rework the unqualified return bonding process, and then polish and polish after the seam is processed. During the grinding and polishing process, it is found that there is glue leakage in the adhesive joints, and the leaked glue should be filled with glue. Do not go to the glue after grinding and polishing, otherwise, you need to re-grind and polish after the glue is filled.
During the grinding and polishing process, the operator should observe whether the used abrasive sheet will fade or not contaminate the bonding seam. If this phenomenon occurs, the grinding disc should be replaced in time.
8. Surface treatment of countertops
The countertop has undergone many processes in the process of processing, and the board surface is easily scratched and corroded by the circulating water used in grinding and polishing, especially black, dark stone, and artificial granite. The quality of the board surface of the countertop is an item that the customer will carefully inspect when inspecting the goods. Therefore, before the seamless countertop is inspected and packaged, the inspector must also carefully inspect the surface quality of the countertop, and the surface inspection quality cannot reach the luminosity level. It is also required to re-grind and polish to improve the brightness or use polishing auxiliary materials to enhance the surface of the board. If the board surface is corroded by water, it must be cleaned with oxalic acid material and water. When cleaning, use an electric grinder + wool felt to polish until the corrosion marks on the stone board surface are removed.


