The processing method of quartz stone is similar to natural granite, and it has a completely different method from the “artificial stone” that is currently on the market. All operations must be coordinated with cooling water.
▌Table processing
1. Carry
2. Cutting
3. Join
4. Edge processing
5. Cut out
6. Chamfer
7. Under counter basin processing
8. Processing of flat table pads
9. Packaging and transportation
10. Site construction and installation

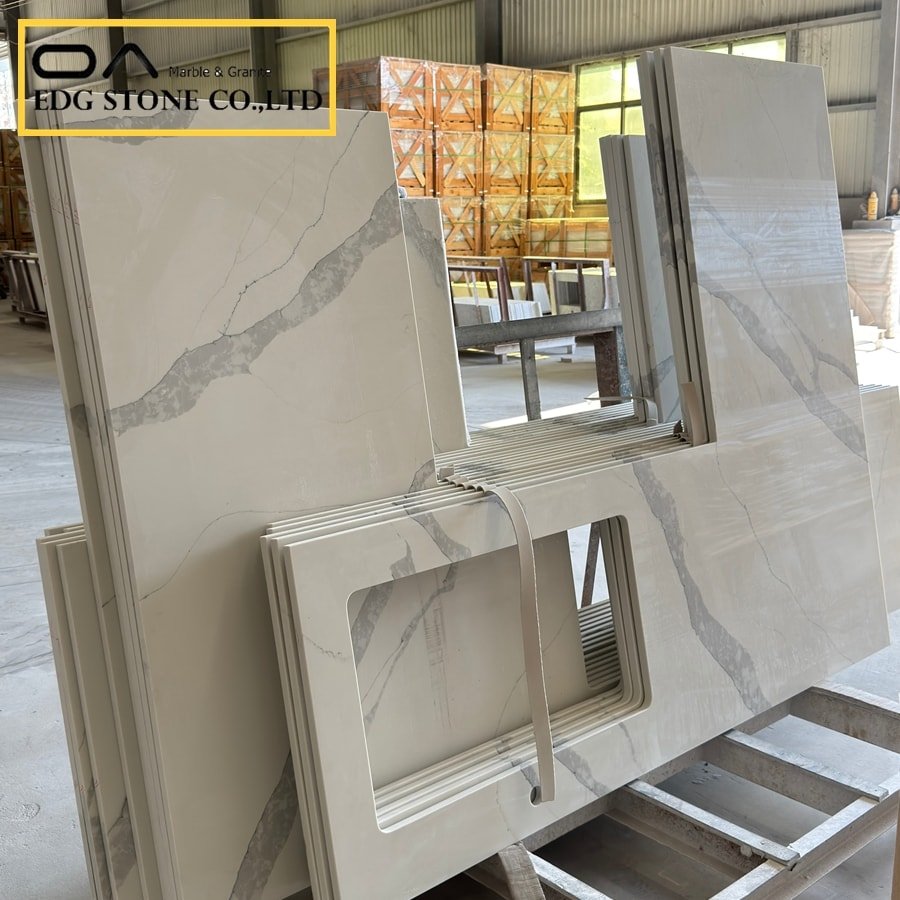
piatra grey quartz
▌1. Storage and transportation-It are strictly forbidden for two people to lay the board flat.
1-1 Quartz stone must be stored indoors to avoid sunlight.
1-2 Use two A-type storage racks, 1.5 meters apart. The bottom is covered with wooden strips, and the boards are evenly and tightly attached to the side plates of the iron frame, and to ensure that each board is tightly pushed against one side and does not exceed 25 boards.
1-3 In order to avoid bending and deformation of the tabletop, do not place the finished product vertically.
1-4 The transportation mentioned here refers to manual transportation during processing and installation. All the transportation must use the method of standing the plate. The two people move the plate to the front of the machine or worktable, and then apply force Flip it evenly and lay it flat on the machine or workbench. When the backside is facing down, you can slowly drag the plate to adjust its position. When the front side is facing down, it is strictly forbidden to drag the plate to avoid scratching the surface. The principle is placed on the cabinet, when necessary, 3-4 people can work together to complete the operation.
1-5 Three large triangular iron frames (wooden frames) are used for large board loading, with a distance of 90 cm. The bottom is covered with wooden strips. The length of the wooden strips is equal to the width of the car box to prevent slippage. The large panel rests on the shelf and is placed on both sides. Make sure that each board is front-to-front and back-to-back. The board must be pushed tightly, and then use a soft rope (broadband) to bind the wood board. The rope passes through the place and is covered with paper to prevent the transportation bumps from causing damage or breakage of the board.
1-6 A pair of triangular wooden frames are used for loading finished products. The wooden frames must be fixed to the bottom of the vehicle to prevent sliding. The finished product leans against the wooden frame, placed on both sides, and then tied to the wooden frame with a soft rope (broadband) to prevent the sliding of the transportation bumpy plate.
▌2. Opening-all operations must be coordinated with cooling water
2-1 Must read the drawing before opening to avoid size error, conceive how to open the sheet and be aware of the opening, in order to meet the requirements of the drawing and save the material as the principle.
2-2 Before opening the board, first check whether the remaining materials are suitable for use, and check whether the colors are consistent, and visually check whether there are defects on the board surface.
2-3 Before opening the material, the board must be carefully checked for color differences. For the board with cracks and defects, it should be clear whether it can be avoided during the processing process so that there are no spots after the completion of the work and serious economic loss.
2-4 The principle of material utilization is 90%, and the width of the remaining material can exceed 60mm.
2-5 Try to avoid the back wall jointing, the front edge can be polished and polished after proper bonding.
2-6 can be used with a hand-cutting machine with an edge-cutting machine.
2-7 Ensure that the wall has a 3-5mm expansion gap.
2-8 The cutting speed of cutting is 4m/min.
2-9 Check the size of each plate with the drawings after opening. The segment position, auxiliary materials, order number, address, and joints should be written clearly, and the next process should be explained clearly.
▌3. Join
3-1 The products from the previous process must be inspected for quality, and unqualified products should be rejected.
3-2 You must read the single drawing before bonding the countertops, understand the relationship between the joined countertops and the entire set of countertops, and receive the glue, straight edges, and leading-edge materials required for the countertop.
3-3 Establish a special person to adjust the color of the glue. The color of the glue should be as close as possible to the color of the board. Before the glue is glued, the team leader must agree that this color matches the countertop before it can be used.
3-4 When using quick-drying glue, it should be added according to the ratio of glue and curing agent specified in the instruction manual. It is strictly forbidden to add a large amount of curing agent to affect the firmness and color variation of the joint, and strictly control the amount of glue adjustment each time to avoid waste.
3-5 For straight-edge joining, the surface to be pasted is thoroughly cleaned, dried, and flat. Check the flatness of the joining surface on the back of the large board. If necessary, use a corner grinder to finely modify. Clean and dry the bonding surface, evenly apply the same color glue and the bottom of the large panel within 15mm put the straight edge strip on the glue and rub it left and right, squeeze out the air, use the clamp and the rubber hammer to cooperate, the moderate force will clamp the straight edge strip Align with the big board. Place the clip every 5-10 cm, and remove the overflowing glue after half drying. After the edge strips are bonded (after drying), use the same color glue to connect the same color quartz stone reinforcement to connect the straight edges to the board surface. Finally, use glass glue and other clips to bond the lined wood strips to the board flat (lay flat formula)
The bottom of all fixtures must be clamped under the wooden side of the workbench, and cannot directly touch the smooth surface. must absolutely guarantee the flatness of the bottom.
3-6 The front edge is joined, first use quick-drying same-color glue to fix the quartz stone reinforcement, and fix it to the bottom of the board surface according to the straight-edge bonding method. After the glue is dry, apply the same color glue to the back of the front edge evenly. Use moderate With the power of the rubber hammer, the front edge is firmly connected to the reinforced material that has been bonded to ensure the smoothness of the protruding water line and the seamless combination of the seamless gap. When the glue is semi-dry, use a small blade to scrape off the overflowing glue. Finally, use glass glue and clips to bond the lined wooden strips to the board flatly. (Lay-flat)
When using a large clamp to clamp the front edge, it is necessary to lengthen the wooden strips on both sides of the board, and it is forbidden for the long clamp to directly contact the two sides of the board. must absolutely guarantee the flatness of the bottom.
▌4. Edge processing
4-1 The quality of the products from the previous process must be inspected, and rejected products should be rejected.
4-2 The processing of polygons includes back wall edges, straight edges, beveled edges, front edge edges, profiled edges, etc. All water milling edges are required to be close to the original surface brightness.
4-3 Straight edges such as the back wall, beveled edge, front edge, etc. are first polished by the edger. If manual edger is used, the linear deviation must be within 0.5mm, which is made strictly according to the system standards.
4-4 Maintain the inherent shape of the board edge during water milling. The water mill only plays a polishing role, and cannot change its shape.
4-5 The edging use from 50, 100, 150, 300, 500, 800, 1000, 2000, 3000# water mill tablets must ensure that each water mill, hit each water mill completely and thoroughly in place, the standard can use 50#, 150#, 500#, 1000#, 2000# and 3000# 6 water mills, each water mill should be given enough water to prevent burning the surface especially during fine grinding. The rotation speed of the mill is above 4000r.p.m.
4-6 When sanding, the bottom of the tabletop must be straight, and the height of multiple tabletops should be the same to prevent unevenness between the sides and the middle.
4-7 If necessary, use fine sandpaper to polish the fine parts.
All edging operations must be coordinated with cooling water.
▌5. Cut out
Any holes must be lined up for positioning and must be reviewed and confirmed by the team leader before the knife can be lowered. All operations must be accompanied by cooling water.
5-1 The quality of the products from the previous process must be inspected, and unqualified products should be rejected.
5-2 Read the size of the drawing before opening the hole and before marking, pay special attention to the relationship between the centerline or the edge line, and do not confuse the center line and the edge line.
5-3 The opening must be carried out on a wooden workbench with large surface support. Suspended operation is strictly prohibited to prevent cracks caused by dynamic shedding.
5-4 Water tap and gas hole:
Use a hand drill or an impact drill, install a diamond drill bit, fix the wood die hole on the table, and drill slowly along the wood die hole.
5-5 Opening of stove, sink, and basin:
5-5-1 Leave a 3mm gap on the four sides of the hole and reserve the expansion gap for the accessories.
5-5-2 After marking the line on the board, in order to avoid the extension of the cutting line and the cracks and appearance of the corners, you must first drill a hole of φ3cm or more in the opening corner, and then use a hand cutter to cut along the inside of the hole and keep it Fillet corners as large as possible.
5-6 uses curved quartz stone strips to reinforce the four corners of the hole.
5-7 use 25mm wide stone strips to reinforce around the hole.
All the sinkholes, basin holes, and furnace holes on the table must be laid with three sinks, namely 50#, 150#, 500#, to ensure that the edge of the opening is smooth without cracking teeth.
▌6. Chamfer
Any cut corners are lined and positioned and must be reviewed and confirmed by the team leader before the knife can be lowered. All operations must be equipped with cooling water. After the line is marked on the board, in order to avoid the extension of the cutting line and the appearance of corner cracks, it is necessary to drill a hole of φ3cm or more in the corner of the cut corner, and then use a hand cutter to cut along the inside of the hole, And keep the rounded corners as large as possible at the corners. (The back wall can be covered)
All cutting angles must be made with three water mills, that is, 50#, 150#, 500#, to ensure that the opening edge is smooth without cracking teeth.
▌7. Under counter basin processing
After the under-counter basin is made with holes, the edges of the test basin will be polished and polished first, and then the edge of the basin and the countertop will be tightly combined with color mixing glue. (Note the direction of the overflow and drain) Use a clean rag to wipe the surface overflow Glue, and finally use the same color glue to strengthen the remaining material (long strip) quartz stone at the bottom.
▌8. Processing of flat tabletop and under-pad cushion
8-1 The products from the previous process must be inspected for quality, and unqualified products should be rejected.
8-2 Read the drawings first and be aware of the places where wooden strips and planks are needed.
8-3 All the dimensions should be calculated in place when the wooden strips or wooden planks are under the joint surface. Try to use the push table to avoid the use of the jigsaw to make the wooden strips or wooden planks skewed.
8-4 The bottom of the countertop should be cleaned and placed in order before bonding with the same color glue, to ensure that the wooden pad or wooden pad is tightly combined with the countertop, and then glue on the contact surface is smooth and seamless. If necessary, use a jig to match. For the method of using the jig, see the straight-edge joining specifications. Paste wooden strips at equal distances in front, middle, and back. When the same color glue is about to dry, remove excess residual glue.
8-5 Clean all stains on the countertop. The countertop that needs to be waxed should be waxed. Only after being approved by quality inspection can it be stored in the finished product area.

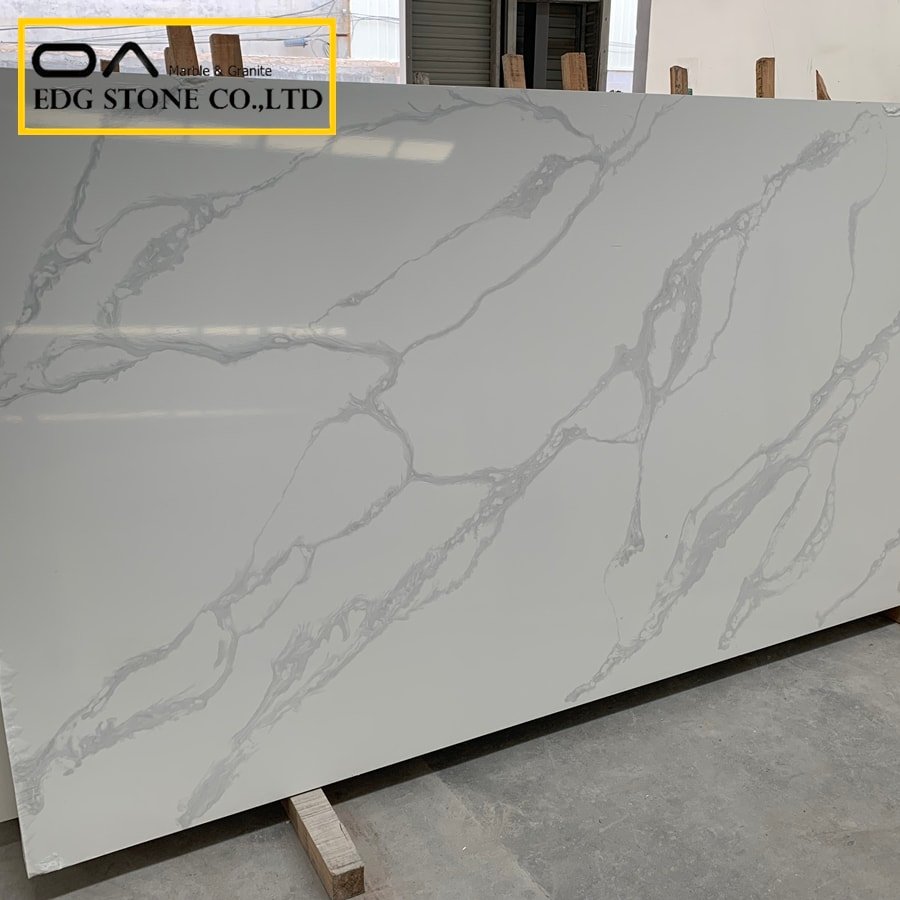
babylon grey quartz
▌9. Packaging and transportation
9-1 The board is separated by a 2cm foam board to prevent accidental scratches.9-2 When the finished product is installed and transported, it is fixed in the car with a wooden frame or an angle steel frame, and then the finished product is bound to the shelf.
▌10. On-site construction and installation
Ⅰ. Necessary tools for on-site construction and installation
1. Angle grinder (one gold steel grinder)
2. Watermill (resin grinding disc)
3. Hand drill
4. Screwdriver head and gold steel drilling head (φ35, φ25, φ15)
5. Jigsaw
6. Small blade
7. Neutral adhesive (transparent, white)
8. Same color glue (transparent, white)
9. Hardener, toner
10. Triangle glass fixture
11. Wiring socket
12. Film and adhesive tape
Ⅱ. On-site construction and installation
Ⅱ-1 Valuable items such as electrical appliances (range hoods, dishwashers, ovens, refrigerators) that have been installed on-site are protected with film adhesive tape first.
Ⅱ-2 Use a horizontal ruler to check the flatness of the on-site kitchen cabinet. When installing, make sure that the bottom surface is absolutely flat. Check whether the countertop and the on-site dimensions are consistent. If there is an error, correct it.
Ⅱ-3 must ensure a gap of 3.5mm between the edge of the countertop and the wall, and then adjust the installation and the expansion of the thermal expansion and contraction of the countertop, and fill the gap with adhesive glue (glass glue, etc.).
Ⅱ-4 Place the countertop and back wall for local adjustment and decoration and tap to check if there is any vacancy. The tiny vacancy can be filled with adhesive glue at the bottom. If the surface is severely uneven, stop the installation, adjust the kitchen cabinet or repair The table is flat.
Ⅱ-5 Remove the adjusted tabletop and apply adhesive glue (glass glue, etc.) to the side plate where the under-bench pad and the kitchen cabinet are connected.
Ⅱ-6 When L-shaped countertops or extra-long countertops need to be joined on the large surface, if necessary, strong glass clamps can be used to clamp the two large surfaces and squeeze the gap. The joint must be clean and dry, and the color-adjusted glue should be evenly applied. At the part where the seam needs to be joined, the table should be rubbed back and forth when the two tables are pressed, the gap is squeezed to be small and neat, and the flatness between the two boards should be ensured. After about 10-15 minutes, use a small blade to scrape the joint Glue oozing from the seam surface.
Special mention is that it is not recommended to polish the surface of the joint, especially the dark series, which is absolutely forbidden. Polishing the surface and strengthening the warranty with a 100mm wide material under the joint.
Ⅱ-7 Use adhesive glue (glass glue, etc.) to bond the back wall, and evenly apply color-adjusted adhesive glue to the bottom of the back wall, place the back wall on the cabinet surface, and then rub the back wall left and right, about 10- Wipe out the glue that oozes out in 15 minutes. Do not use the same color glue to connect the back wall. The adhesive glue (glass glue, etc.) has a certain toughness and will not cause cracking or breaking.
Ⅱ-8 Wait for about 10-15 minutes and wipe off excess adhesive with water or detergent.
Ⅱ-9 Try to avoid on-site openings, if you want to open, you must strictly follow the opening method specified by the company, you must support the bottom and ensure rounded corners. If you want to open a hole, you must stick it to the back wall after the connection is completed.
Ⅱ-10 Scrape off the residual glue on the surface with a blade and clean it thoroughly.
Ⅱ-11 adhesive glue is usually available in white, black and transparent. For large-surface joints, if the customer really needs to perform surface polishing (light color series), the joint glue can be changed to “dry fast” with the same color glue (brand recommendation: EPOXY), adhesive glue (glass glue, etc.) Mildew and antibacterial can reduce the blackening of colloids.