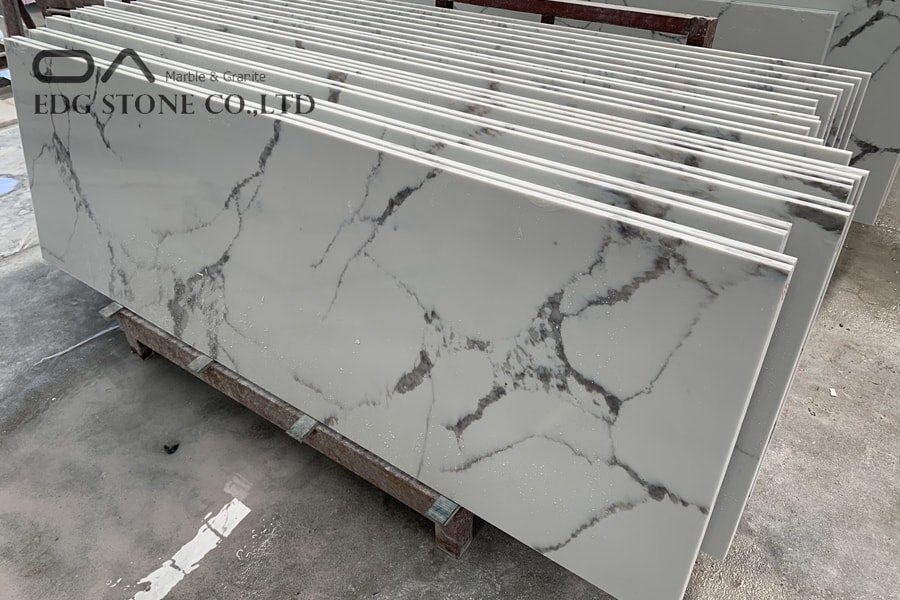
In the specific application of quartz stone, two pieces of splicing or even multiple pieces cannot be avoided. Because the hardness of the quartz stone slab is up to 7 Mohs hardness, after splicing, in order to make the whole look like one, the technology of quartz stone manufacturers and processing masters is tested. Specific how to operate, we can operate in the following ways.
Perform mutual inspection of all large and small materials. The contents of the mutual inspection include the direction of the skirt, the position of the edging, the direction of the hypotenuse, the length and width of the small materials of the skirt, and whether there is any splicing between the plates Color difference. Before making, we must understand the side structure and small material specifications of the countertop, so that we are aware of it and do not stick the wrong side.

Place the bottom of the panel on the workbench, check the flatness of the surface to be bonded, wipe off the stained area with a cleaning ball, rinse with clean water, clean and dry the surface to be bonded with an air gun or dry rag, etc. According to the thickness of the tabletop, choose the corresponding height of the skirt reinforcement strip, apply uniformly toned marble glue to bond the reinforcement strip light side to the bottom of the countertop, and the outer edge of the reinforcement strip is flush with the bevel of the panel. Clamp with g-clamp or a-clamp to clear residual glue. Evenly apply toned marble glue and the slope of the panel and the side of the reinforcement bar put the slope of the skirt on the glue and rub it left and right, squeeze out the air, use the F-type clamp to clamp the skirt and the panel, and use a rubber hammer to moderate Tap lightly so that the skirt is flush with the panel corners, and clip every 100-150mm. Then clamp the skirt and the reinforcement plate with the A-type clamp between every two F-type clamps to clean up the residual glue. Stick a flat slat with the light side facing the bottom of the reinforcing plate so that the width of the skirt reaches 65mm, and fix it with a clip every 200mm.

Place the bottom of the panel on the workbench, check the flatness of the surface to be bonded, wipe off the stained area with a cleaning ball, rinse with clean water, and clean the surface to be bonded with an air gun or dry cloth. According to the thickness of the tabletop, select the skirt reinforcement block with the corresponding height (the specification of the reinforcement block is 35 × h, h = h-2d), evenly apply the matching marble glue to glue the reinforcement block to the bottom of the tabletop every 200mm. The outer edge of the reinforcement block is flush with the beveled edge of the panel. Use a g-clamp or a-clamp to remove residual glue. Evenly apply toned marble glue on the slope of the panel and the side of the reinforcement bar, put the slope of the skirt on the glue and rub it left and right, squeeze out the air, use the f-clamp to clamp the skirt and the panel, and use a rubber hammer to moderate Tap lightly so that the skirt is flush with the panel corners, and clip every 100-150mm away. Then, between every two f-clamps, use g-clamps to clamp the skirt and the reinforced square to clean up the remaining glue. Stick a flat slat with the light side facing out to the bottom of the reinforcing plate, so that the width of the skirt reaches 65mm, and fix it with a clip every 200mm.

Place the bottom of the panel on the workbench, check the flatness of the surface to be bonded, wipe off the stained area with a cleaning ball, rinse with clean water, and clean the surface to be bonded with an air gun or dry cloth. Evenly apply toned marble glue on the slope of the panel and the side of the reinforcement bar, put the slope of the skirt on the glue and rub it left and right to squeeze out the air, use a type clip to clamp the skirt and the panel, and use a rubber hammer to moderate Tap lightly so that the skirt is flush with the panel corners, and clip every 100-150mm away. Clean up the remaining glue, after 15 minutes you can enter the next process.