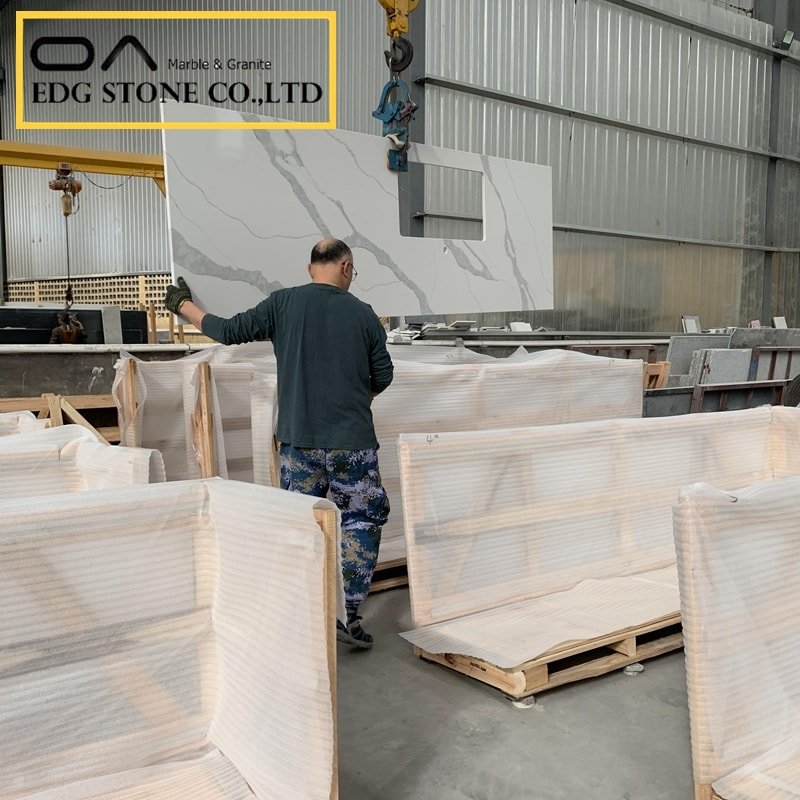
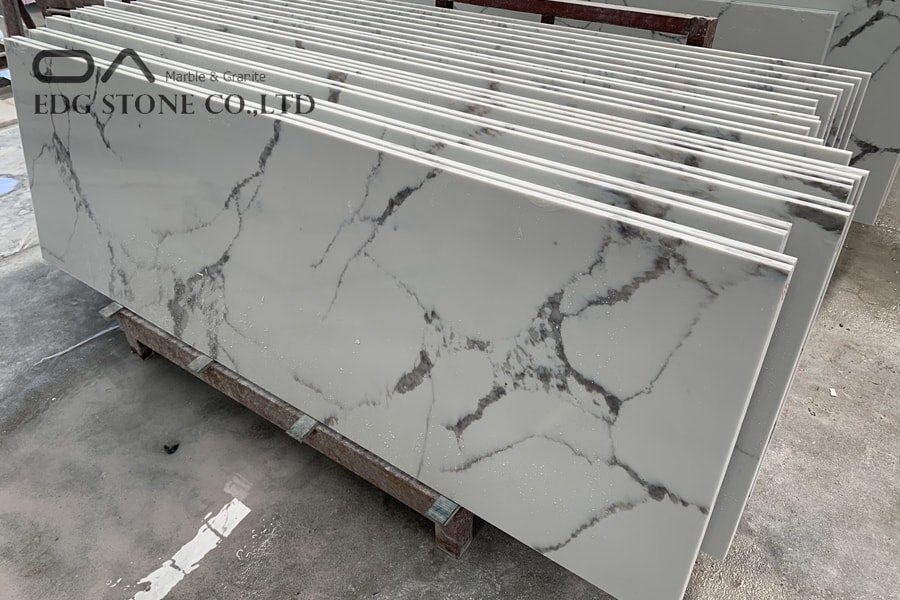
Quartz stone slabs are listed in the national green environmental protection decorative stone because of their antibacterial, high-temperature resistance, wear resistance, anti-leakage, non-toxic, non-radiation, and other beneficial properties. They are recognized by more people and used as cabinet countertops. in. However, in the specific application of decoration, it is inevitable to splice two pieces or even multiple pieces. Because the hardness of the quartz stone plate is as high as 7 on the Mohs hardness level, after the splicing, in order to make the whole seem integrated, it is a test of the quartz stone manufacturer and the processing master. Technology. How to achieve seamless splicing is a major technological breakthrough in people’s pursuit of perfection.
For the quartz stone processing industry, the hardness of the plate is second only to the hardness of diamond, and the almost harsh raw material ratio, coupled with technical limitations, the quartz stone itself is too high in hardness, and the particles inside will collapse, so when cutting The edge is relatively rough, and there will be gaps when splicing naturally. Seamless stitching is more difficult. Even if the quartz stone can be seamlessly spliced, it cannot be processed after being polished. There will still be stitching glue lines. This has nothing to do with the price of quartz stone, and it cannot be done with high prices.
At present, the seamless splicing of quartz stone requires very high processing equipment. It is necessary to use a water jet to cut the splicing seams diagonally (45° bevel edge is the best) splicing. At present, there are CNC water jets on the Chinese market. The knife cutting machine has been used by large tabletop processors. After completion, use the manufacturer’s original resin glue of the same color to paste. Please do not use other glues (whether seamless splicing can be achieved is inseparable from glue). Before pasting, match the color with the board to avoid color difference. Use paper tape to paste on the edges of the two butt joints. In order to avoid the glue contacting the surface of the board, unnecessary trouble will occur during cleaning. After completion, apply the glue evenly on the joints, and use the F clamp to fix it for about 20 minutes (a hydraulic suction cup booster can be used if conditions permit). After completion, use a water mill to polish the joints.


